
When you’ve experienced a sprained ankle, the road to recovery can feel daunting. Simple tasks like walking and running become challenging, and you may worry about regaining your strength and mobility.
Fortunately, resistance band exercises can be a game-changer in your rehabilitation journey. In this comprehensive guide, we’ll explore a range of resistance band exercises specifically designed to help you recover from a sprained ankle. These exercises will not only speed up your healing process but also prevent future injuries.
Let’s move on and take a look at the resistance band exercises for sprained ankle you should be doing on your route to full recovery!

Contents
Understanding Ankle Sprains
Before diving into the exercises, let’s briefly understand what happens during an ankle sprain. An ankle sprain occurs when the ligaments that support the ankle are stretched or torn. This usually happens due to an awkward twist or turn of the foot, leading to pain, swelling, and limited mobility.
Benefits of Resistance Band Exercises
Resistance band exercises offer several advantages when it comes to ankle sprain recovery:
- Progressive Resistance: Resistance bands provide variable resistance, meaning the further you stretch them, the more resistance they offer. This allows you to start with low resistance and gradually increase it as your ankle heals and gets stronger.
- Improved Range of Motion: These exercises promote flexibility and mobility in the ankle joint, helping you regain your full range of motion.
- Strengthening: Resistance band exercises target the muscles around the ankle, promoting strength and stability. Stronger muscles are essential for preventing future sprains.
- Convenience: You can perform these exercises almost anywhere, making them a convenient choice for home rehabilitation.
Getting Started
Before beginning any exercise program, consult with your healthcare provider or physical therapist to ensure these exercises are appropriate for your specific condition. Once you have the green light, gather your resistance band(s) and a sturdy chair for balance if needed.
Resistance Band Exercises for Sprained Ankle
1. Ankle Alphabet
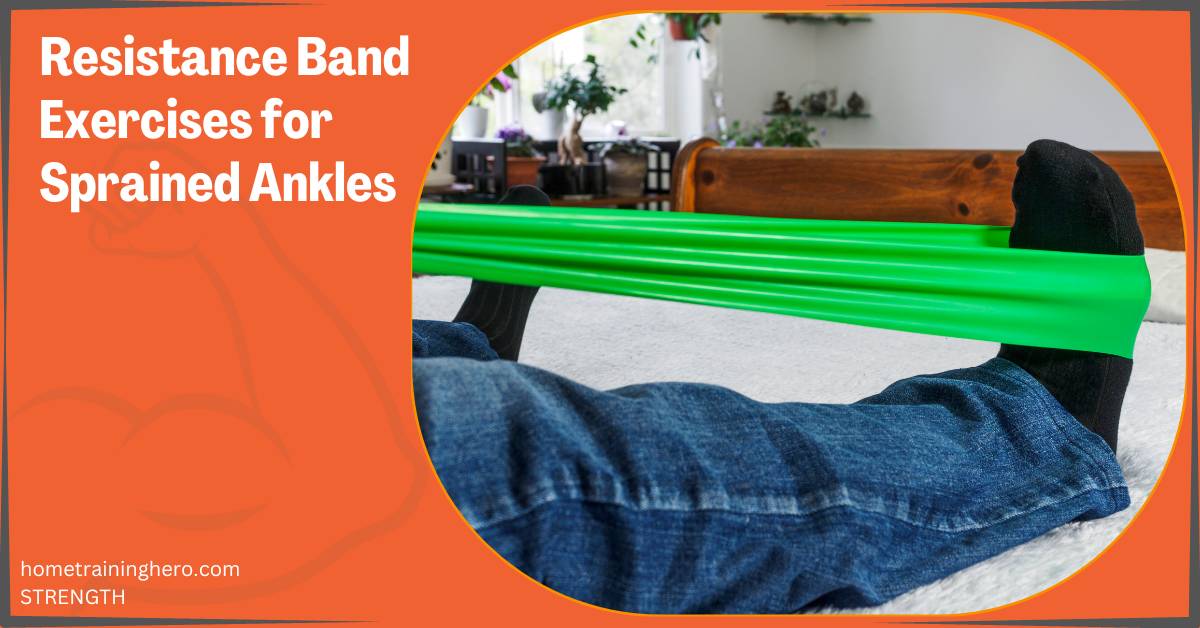
Sit comfortably in a chair with your injured foot hovering slightly above the floor. Secure one end of the resistance band to a stable anchor point and loop the other end around your foot, holding it with your hand.
- Begin by tracing the letters of the alphabet with your foot, moving your ankle through its full range of motion.
- Perform this exercise for 2-3 minutes, focusing on smooth and controlled movements.
- This exercise improves ankle flexibility and helps reduce stiffness.
2. Resistance Band Dorsiflexion
Sit in the same position as the previous exercise, with the resistance band looped around your foot and anchored securely.
- Start with your toes pointing downward and slowly pull your toes towards your shin, against the resistance of the band.
- Hold the position for 2-3 seconds and then release.
- Perform 2-3 sets of 10-15 repetitions.
- This exercise targets the muscles on the front of your lower leg, enhancing dorsiflexion strength.
3. Resistance Band Plantarflexion
Continue sitting with the band around your foot, but this time, position the band below your foot, holding the ends in your hand.
- Begin with your toes pointing upward and push your toes away from your body, against the resistance of the band.
- Hold for 2-3 seconds and then release.
- Complete 2-3 sets of 10-15 repetitions.
- This exercise strengthens the calf muscles, improving plantarflexion.
4. Ankle Inversion and Eversion
Sit with your foot flat on the floor and the resistance band anchored to a sturdy object.
- Place the band around the outside edge of your foot.
- Start with your foot tilted inward (inversion) and then gently push your foot outward (eversion) against the resistance.
- Perform 2-3 sets of 10-15 repetitions for each movement.
- These exercises enhance ankle stability by targeting the muscles responsible for controlling side-to-side movements.
5. Resistance Band Calf Raises
Stand with your feet hip-width apart and the resistance band looped around both ankles.
- Hold onto a stable surface for balance, if needed.
- Raise your heels as high as possible, flexing your calf muscles.
- Slowly lower your heels back to the ground.
- Perform 2-3 sets of 10-15 repetitions.
- This exercise strengthens the calf muscles, which play a crucial role in supporting the ankle joint.
6. Towel Scrunches
Sit on a chair with your feet flat on the floor. Place a towel on the ground in front of you.
- Place your injured foot on the towel.
- Use your toes to scrunch the towel toward you, creating wrinkles.
- Repeat this motion for 2-3 minutes.
- Towel scrunches help improve toe and arch strength, aiding in overall foot stability.
Workout Guidelines
- Perform this routine every other day to allow your muscles time to recover and adapt.
- Start with low resistance bands and gradually increase the resistance as your ankle becomes stronger.
- Focus on proper form and controlled movements. Avoid any exercises that cause pain or discomfort.
- Perform each exercise for the recommended number of sets and repetitions, gradually working your way up to the higher end of the range as you progress.
Progression
As you advance in your recovery, consider these tips for progression:
- Increase resistance: Gradually switch to higher-resistance bands to continue challenging your muscles.
- Add sets and repetitions: Once you can comfortably complete the recommended sets and repetitions, increase the workload for further gains.
- Balance exercises: Incorporate balance-focused exercises, such as single-leg stands or wobble board exercises, to enhance ankle stability.
Remember that patience and consistency are key to a successful recovery. Listen to your body, and if you experience pain or discomfort during any exercise, consult with your healthcare provider or physical therapist. With dedication to this resistance band ankle rehab workout program, you’ll be well on your way to regaining strength and mobility in your sprained ankle, helping you return to your active lifestyle with confidence.
Final Words
Incorporating these resistance band exercises into your daily routine can significantly accelerate your recovery from a sprained ankle. Remember to start with low resistance and gradually increase it as your ankle gets stronger. Additionally, always perform these exercises with proper form and control to avoid further injury.
While these exercises are highly effective, it’s essential to combine them with other aspects of rehabilitation, such as rest, ice, and professional guidance. A holistic approach will ensure a speedy and complete recovery, allowing you to return to your daily activities with confidence and reduced risk of future ankle injuries.
Don’t let a sprained ankle hold you back; use the power of resistance band exercises to regain strength and mobility. Your journey to a full recovery starts now.